How to configure a new production result step by step
This procedure details the steps for creating a new result.
Step 1: Result Configuration
- Click on the
 button from the Main Window of the Terminal.
 - Select Results in the CLICK TO CONFIGURE dropdown.
Step 2: Fill-in the fields

- Basic fields to fill:
- Code: result code, generally ".S" is added to indicate a Scrap result.
- Description: description or name of the result. Generally "SCRAP" is added to the description to indicate a Scrap result.
- Type: to indicate if the result type is production, rework or scrap.
- Press
 to insert the new result. Repeat this action for each new result to add.
 - When all the changes have been done, press the
 button.
NOTE: Please see Results configuration for deeper configuration.
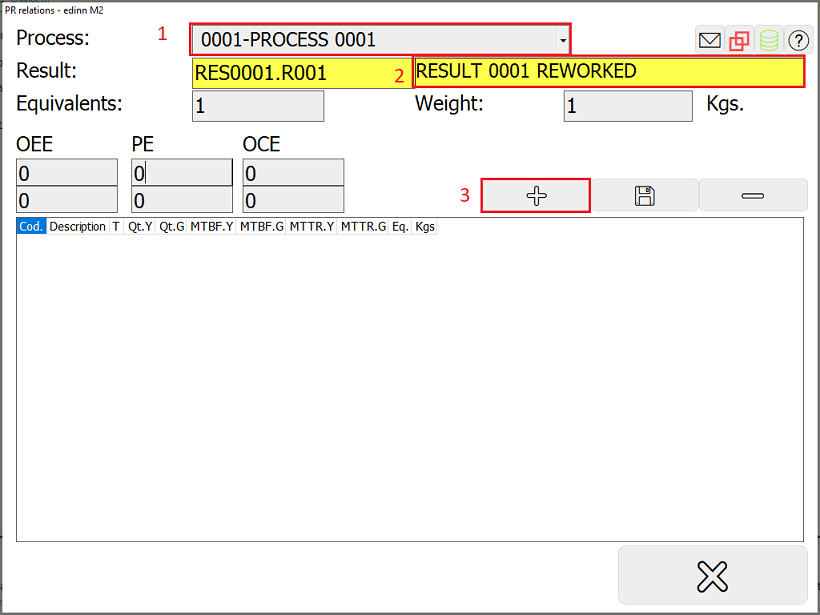
Step 3. (OPTIONAL) PR relation
Perform this step only if you need the new result to have different equivalents, weight or objectives (in general, the parameters configurable in this window as indicated below) when produced in different processes.
- Click on the button from the Main Window of the Terminal.
- Select PR relation in the CLICK TO CONFIGURE dropdown.
Relate the result created with a process following these steps:
- Process: choose the process to which the created result belongs.
- Result: press <CLICK HERE> and choose a result among the availables.
- Press to insert the new result. Repeat this action for each new result to add.
Step 4. PSR Relation
Until this moment, you have created the result in the general directory of results and, optionally (in step 3) you have establised some particular characteristics for this result in some specific processes. However, the result cannot yet be used by the users. For the users to be able to use this result, it must be related with a process and a status.
For more information, please see particularization through relations.
To perform this step, please see the document PSR relations configuration.