For all the processes
In this procedure, the steps to schedule statuses for all the processes will be detailed:
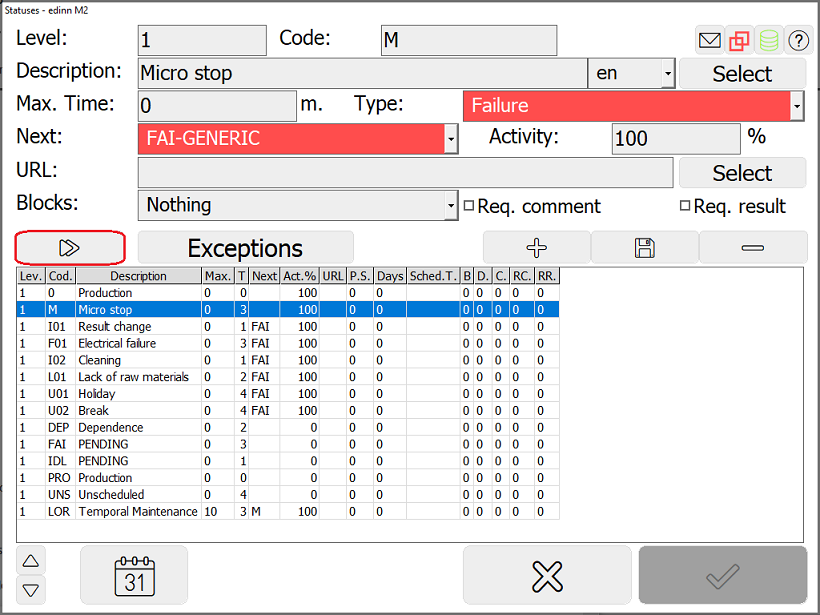
Step 1: Status Configuration
- Click on the button from the Main Window of the Terminal.
- Select Statuses in the CLICK TO CONFIGURE dropdown.
- Press the
 button to show advanced configuration:
Step 2: Fill the fields
In this window we can define the necessary parameters for the automatic launch of statuses. Follow the following steps:
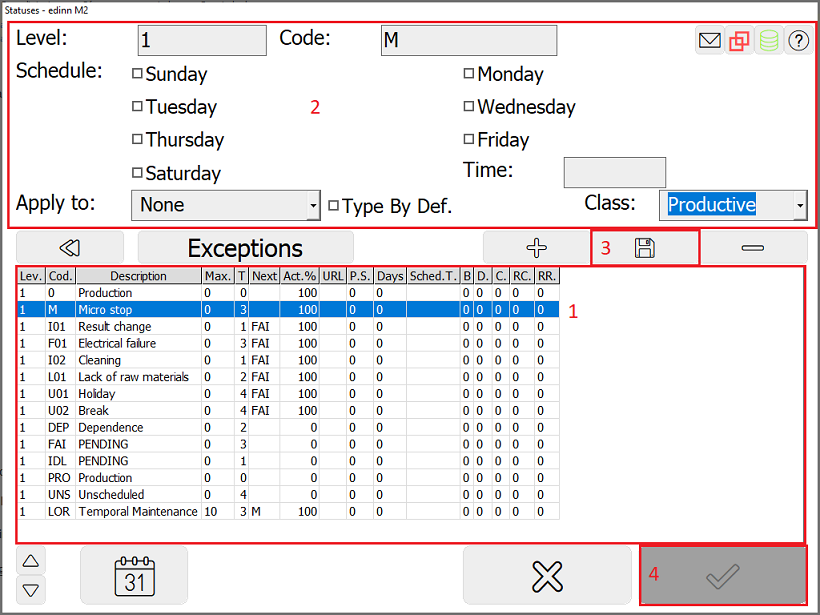
- Select the status to schedule from the table.
- Select the days and time for the status to be launched.
- Press the [Mod] (modify) button to insert the new changes.
- Press the [Accept] button to save all the changes made.
Examples:
- Status “WEEKEND”: launched on Fridays at 20:00.
- Status "END OF THE DAY”: launched on Monday, Tuesday, Wednesday and Thursday at 20:00.
WARNING: take care to not plan two status for the same period.