Connect
WARNING: To avoid the risk of electric shock, only operate the eBOX only when unplugged from electricity.
WARNING: this document explains the steps to monitor with edinn eBOX. To monitor with other PLCs contact your supplier or request it here.
1. Select the signals to monitor
For this, see the section of this guide: What signals do we need to monitor?
2. eBOX basic connection
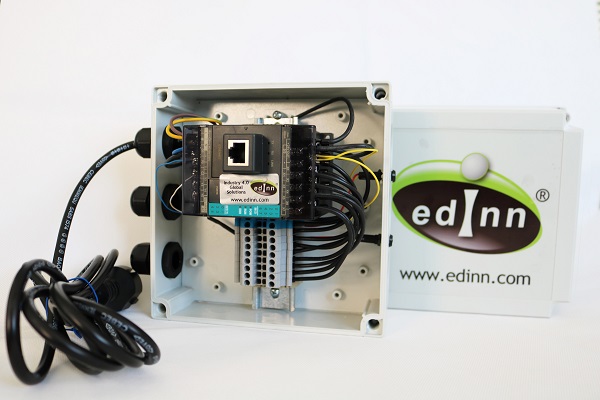
Let us connect the edinn eBOX:
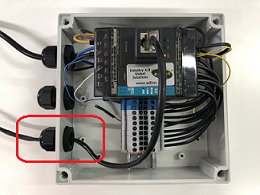
- Keeping the eBOX unplugged, unscrew the cover and removeit:
- Pass the ethernet cable through the cables hole.
- Plug the Ethernet cable (RJ45) to the eBOX to connect it to the Internet:
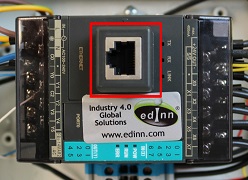
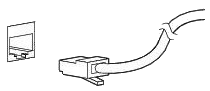
It is important to know what kind of RJ45 cable it is necessary to use:
- If the connection is made from the PC to a switch, and from a switch to the PLC, straight RJ45 wires are necessary for both connections.
- If the connection is made directly from the PC, eHUB or server, directly to the eBOX, a crossover RJ45 wire is needed. Usually, in modern equipments, this rule is not mandatory, but, if one of the network devices is too old, connection problems may arise.
WARNING: Be sure that the RJ45 connectors and wires are in good condition and protected, otherwise, communication errors could occur.
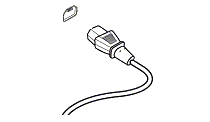
- Put the cover back, screw it and plug the eBOX to the electrical power:
3. Inputs
Each input of the eBOX (x0, x1, .., xN) is wired to the DIN rail connector. In this case, it has 8 inputs (it will depend on the acquired eBOX).
Wire and attach the selected signals from the external device to the correct connector on the DIN rail. Write down this relationship, since it will be needed later.

4. Outputs
In the case of needing to use outputs (beacons, alarms, etc.) you can use the outputs of the eBOX, marked in green on the image below.

For more information about the eBOX, check the document eBOX_200B_specs_en.pdf from the edinn Academy, IoT area here ![]()
Need help? ![]()